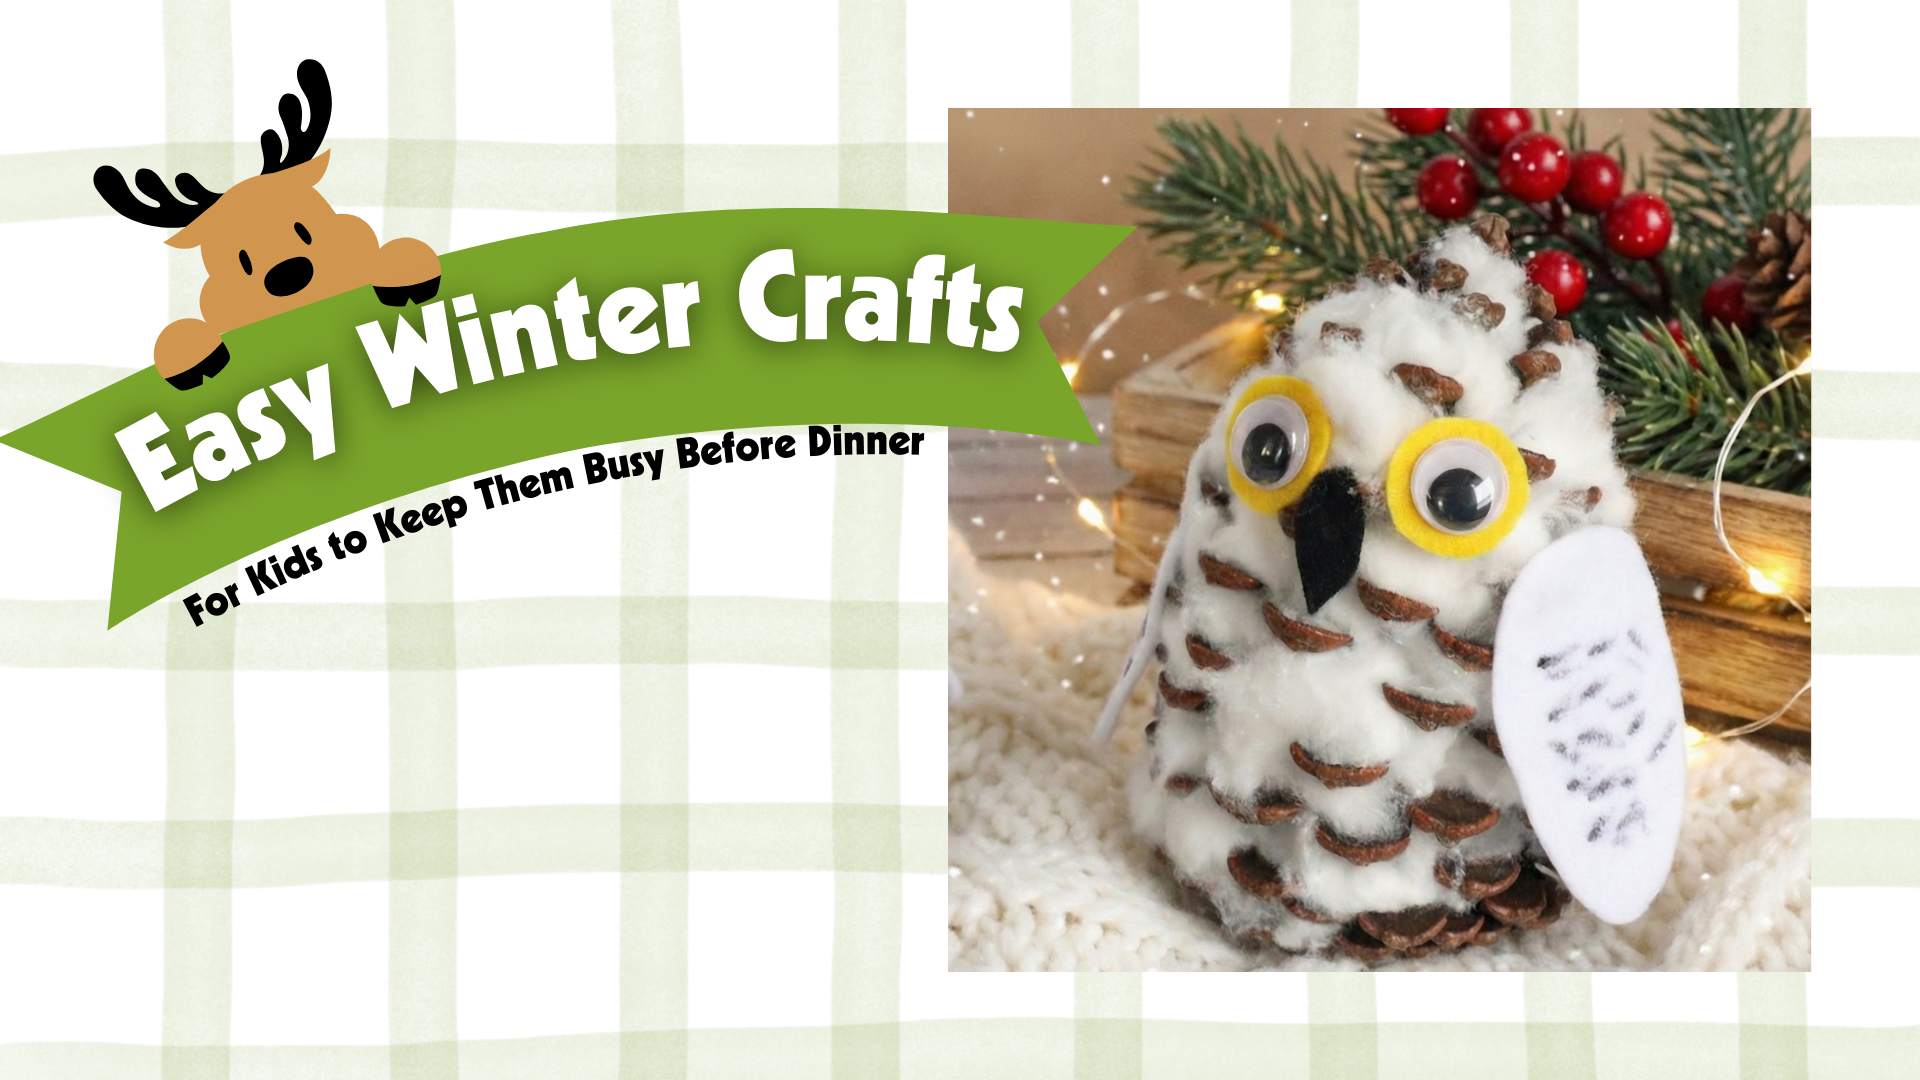
During the winter season, kids are often looking for something fun to keep them busy—and that’s where easy winter crafts for kids come in handy. This Snowy Owl Pine Cone Craft is the perfect mix of easy, adorable, and low-mess, making it an ideal activity. All you need are a few basic supplies and a handful of cotton balls to transform an ordinary pine cone into a fluffy little owl.
Before we jump into the steps, let’s walk through what makes this craft such a great choice: it keeps kids entertained, encourages creativity, and results in a charming fall decoration they’ll be excited to show off.

Supplies
- Medium sized Pine cones
- Black, yellow, and white felt
- Large Googly eyes
- Sharpie marker
- 15 Cotton balls per Owl
- Hot glue or Tacky Glue
Directions
Now that you’ve gathered your supplies, it’s time to bring these cute snowy owls to life. These steps are simple enough for kids to follow with just a little guidance—especially if you’re using tacky glue instead of hot glue.
- Prep Your Pine Cones - Make sure each pine cone is clean and dry. Shake out any loose pieces so the cotton will adhere well.
- Add the Fluffy Owl Feathers - Pull apart the cotton balls slightly, then tuck small pieces into the gaps of the pine cone. Cover the entire pine cone until it looks soft and snowy, leaving the bottom open so it sits flat.
- Create the Face - Cut a small yellow felt triangle for the beak and two white felt circles for the eye bases. Use the sharpie to outline the edges if your child wants extra detail.
- Attach the Eyes - Glue the white felt circles onto the front of the pine cone, then add the large googly eyes on top. Place the yellow felt beak just below the eyes.
- Add Wings and Feet (Optional) - For extra personality, cut small wing shapes from black felt and glue them to the sides. You can also cut two tiny felt feet to glue at the bottom.
- Let It Dry - Allow the glue to fully dry before moving the owl. If you’re using hot glue, this step will be quick; tacky glue may take a bit longer.
Once the owl is dry, your kids will have a charming fall decoration that’s perfect for the table, mantel, or even as part of a Thanksgiving centerpiece.
Conclusion
With your snowy owl pine cones complete, your kids will feel proud of the whimsical woodland creatures they’ve created—and you’ll enjoy a little extra time to focus on dinner. This craft is simple, cozy, and full of seasonal charm, giving kids a fun way to participate in the holiday atmosphere.
As you wrap up this activity, encourage the kids to display their owls somewhere special or gift them to family members arriving for dinner. It’s a sweet way to spark conversation and celebrate their creativity.
And just like that, you’ve kept little hands busy, added a touch of fall magic to your home, and created a memory that makes the holidays feel even more meaningful.