Parent’s Guide to Mario Kart World: What Families Need to Know
Discover Mario Kart World for families! Learn new features, tips, and modes to see if this Nintendo Switch 2 game is right for your kids.
Not ready to Book? We can remind you when your event is a little closer.
Set a Reminder
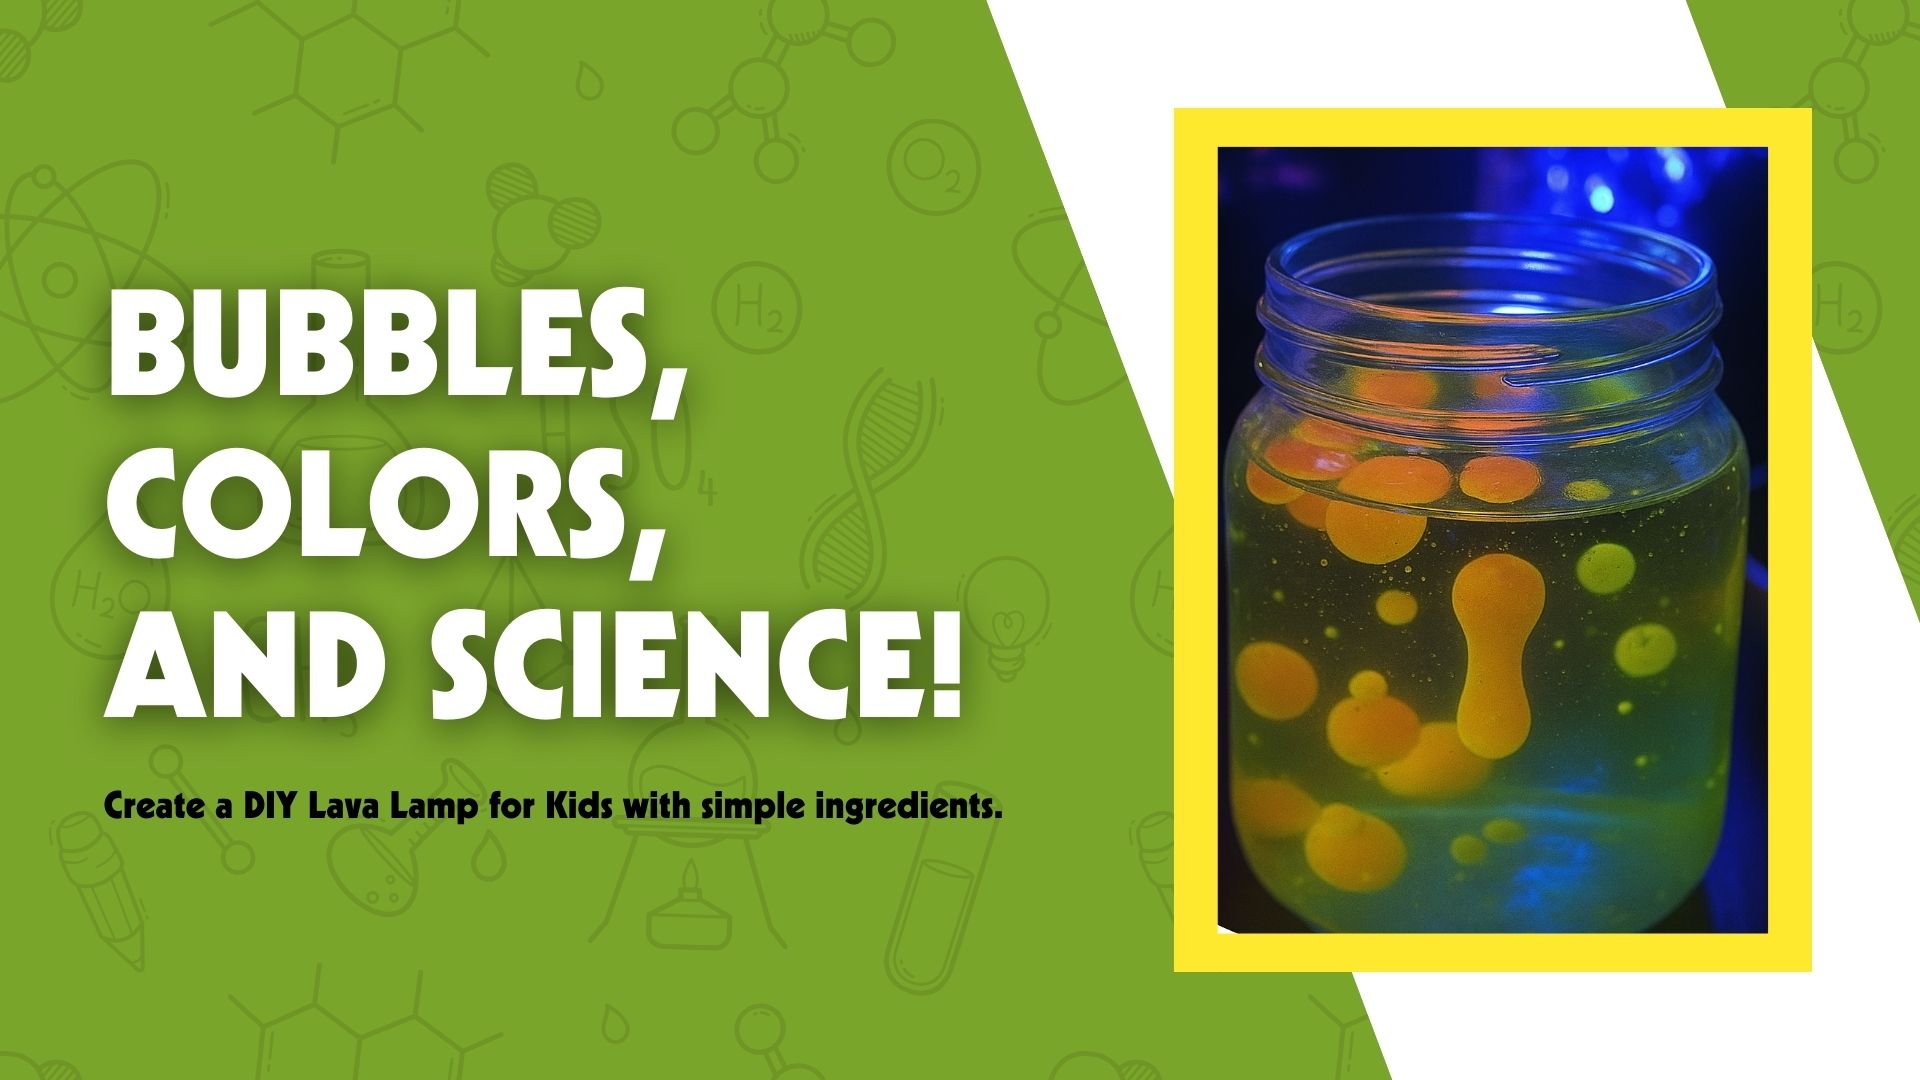
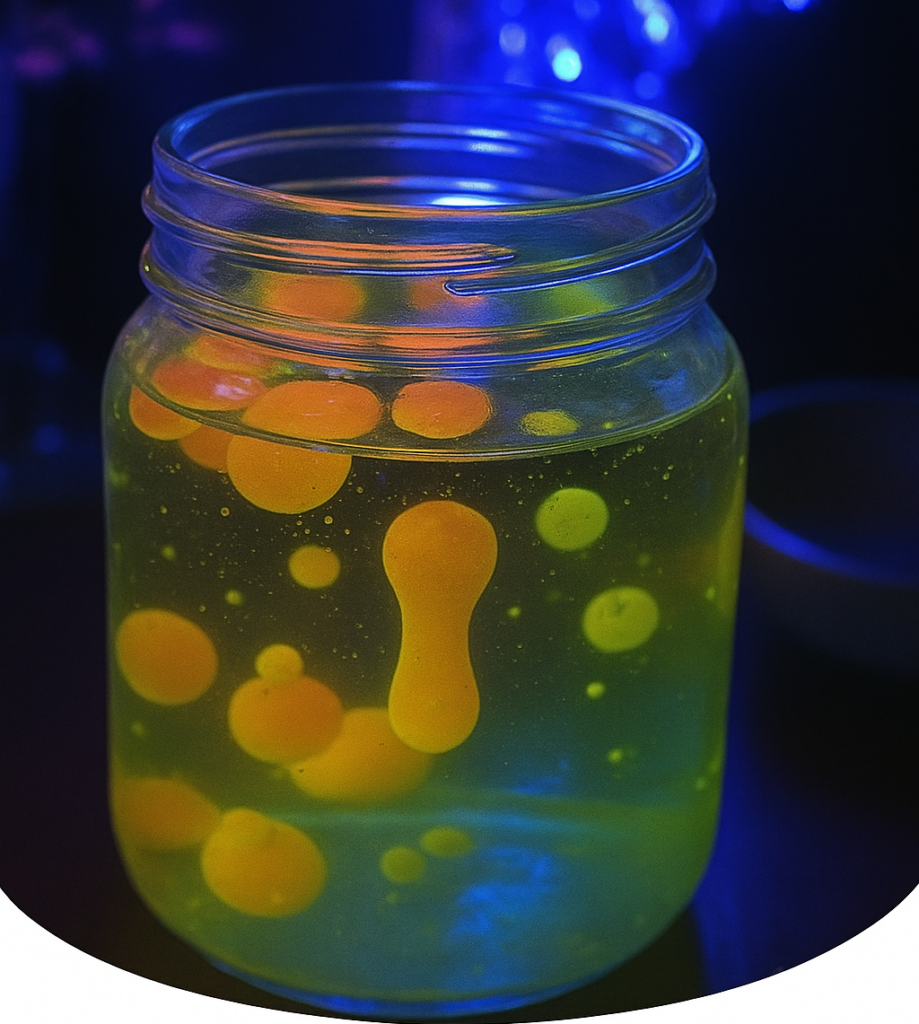
Get ready to make your very own DIY Lava Lamp for Kids! With just a few simple supplies, you can create a jar that bubbles, swirls, and moves like magic. This fun experiment is safe, easy, and super cool to watch.
Not only will you get to enjoy the colorful bubbles floating up and down, but you’ll also learn a little science along the way. It’s a mix of fun and learning all in one!
Are you ready to watch your homemade lava lamp come to life? Let’s get started!

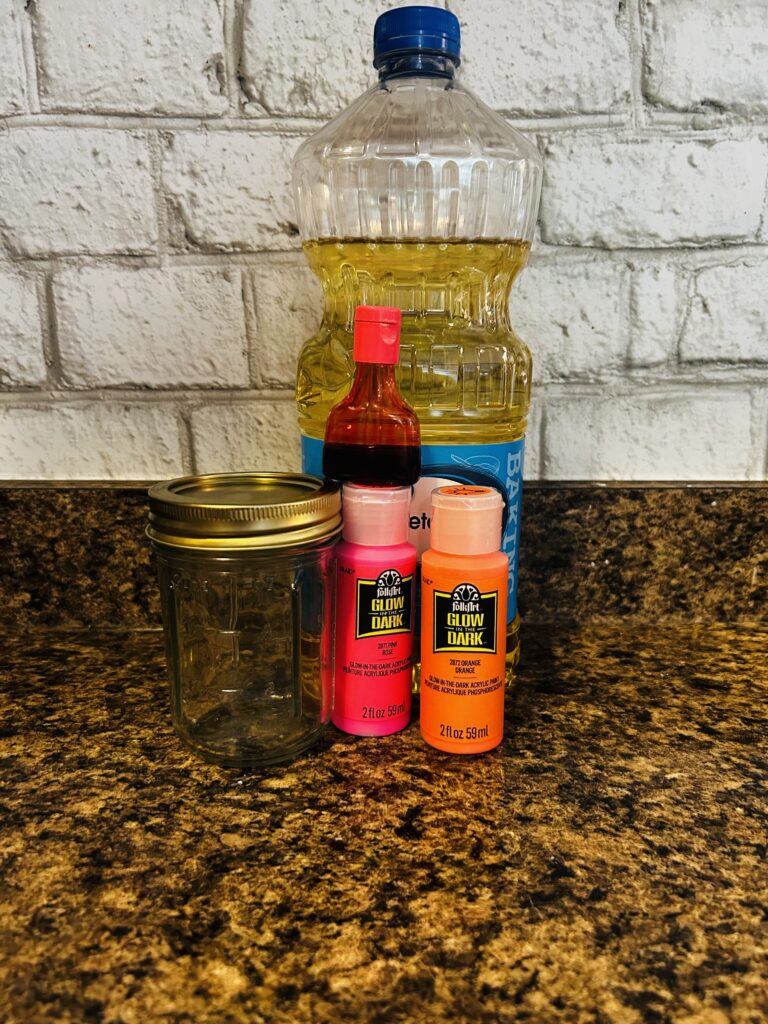
Here’s what you’ll need to light up the night with a glow jar.

Get ready for a science show in a jar!
This eye-catching experiment introduces kids to liquid density and immiscible substances—while also looking seriously cool.
When you do this experiment, you’re not just making something pretty—you’re also doing science! Here’s what’s going on inside your jar:
Oil is lighter than water, so it always floats on top. The glow paint is heavier than oil but not as heavy as water. That’s why the paint hangs in the middle for a bit before slowly sinking down, making the “fireworks” effect.
Water and oil are like kids who don’t want to hold hands. They’re just too different! Because of this, the paint droplets don’t mix in. Instead, they stay separate and move through the water slowly, which makes them fun to watch.
Glow-in-the-dark paint has tiny special bits inside called phosphors. These bits soak up light like a sponge. Later, when it gets dark, they let the light out slowly, which is why the paint glows. If you shine a flashlight or blacklight on the jar first, it glows even brighter!
This experiment can easily become an engaging teaching tool both at home and in the classroom. Consider trying these approaches:
To deepen the lesson, you could pair this experiment with a short book or discussion on light, color, or the science of glowing objects.
You did it—you made your very own lava lamp! 🎉 Watching the bubbles rise and fall is not only fun but also shows you a little bit of science in action.
Remember, your DIY Lava Lamp for Kids is more than just a cool project. It’s a way to explore how liquids work together, how reactions happen, and how science can be just as exciting as playtime.
So the next time you want a fun activity on a rainy afternoon, a science fair idea, or just something amazing to show your friends, you’ll know exactly what to do—make another lava lamp and let the fun bubble up again!

Keep kids active and smiling with Easter games for kids! Try fun ideas like egg hunts, silly races, and hands-on holiday challenges.
Categories
Our latest tips, insights, and news on parenting, family, and gaming.
Discover Mario Kart World for families! Learn new features, tips, and modes to see if this Nintendo Switch 2 game is right for your kids.
Helping kids develop social skills is easy with fun activities and free downloads that build confidence, connection, and communication.
Boost fine motor skills with free scissor skill kid worksheets. Fun, easy cutting practice for parents, teachers, and early learners.